
Replacing a garden hose gun is simple. And you just need to disconnect the old one and attach the new one. Then make a quick check for leaks.
Step 1: Prepare & Disconnect the Old Gun
1.Turn off the water supply at the faucet to avoid spills.
2.Relieve pressure by squeezing the trigger of the old hose gun; this releases any leftover water in the hose.
3.Unscrew the old gun from the hose. Most hose guns twist onto the hose’s male connector—turn it counterclockwise by hand. If it’s stuck, use a pair of pliers.
Step 2: Check the Hose & New Gun
Before attaching the new gun, do a quick inspection to ensure a tight seal:
Inspect the hose connector: Check if the rubber washer is intact. If it’s cracked or missing, replace it—this prevents leaks.
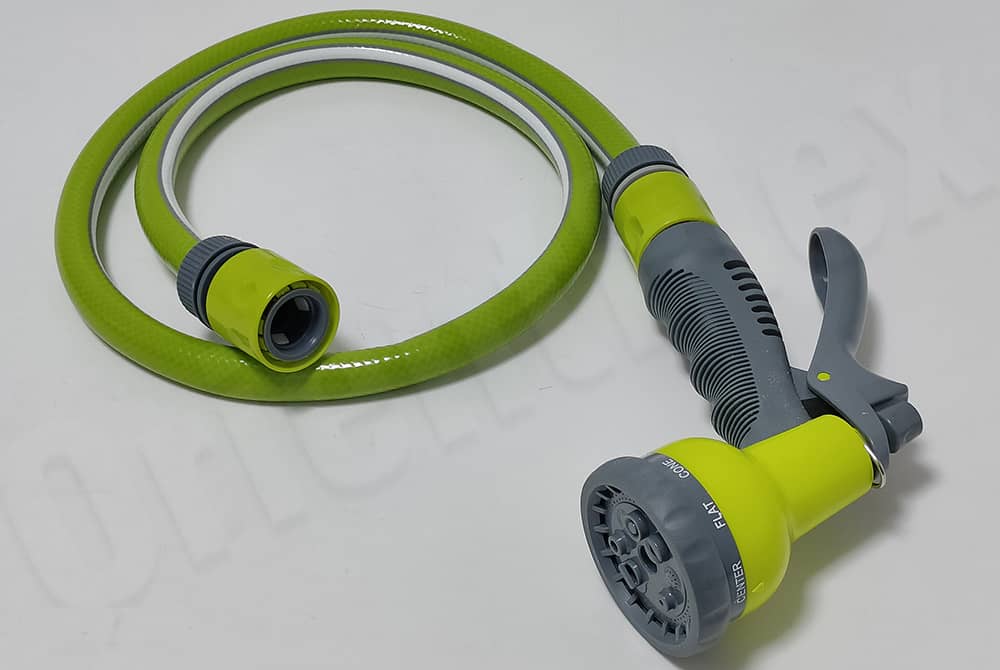
Check the new gun: Remove any protective caps from the new gun’s female connector and confirm it has a rubber washer inside .
Step 3: Attach the New Gun
1.Align the new gun with the hose’s male connector.
2.Screw it on by hand first, turning clockwise until it’s snug. Don’t over-tighten yet—this lets you adjust if needed.
3.Test for leaks: Turn the water supply back on, then squeeze the new gun’s trigger. If you see leaks around the connection, turn off the water and tighten the gun a little more with pliers.
Step 4: Final Test
Once the connection is tight:
1.Squeeze the trigger to run water through the new gun.
2.Check all parts (hose, gun, connection) for drips. If there are no leaks, the replacement is complete.